
 I am so excited to have completed my built in spice rack. For years I have dreamed about opening the cabinet/pantry door and seeing my spices all lined up. We'll, it is now a reality!
 A special thanks to my sister, Steph, who came over to help me get the ball rolling. She helped me figure out the dimensions and what type of wood I would need. then we went to Home Depot, bought the wood and extra tools required to complete the project.
Here is a look at the process I went through to create this wonderful spice rack. {By the way I purchased the jars at Ikea before hand then made the shelf to fit the jars.}
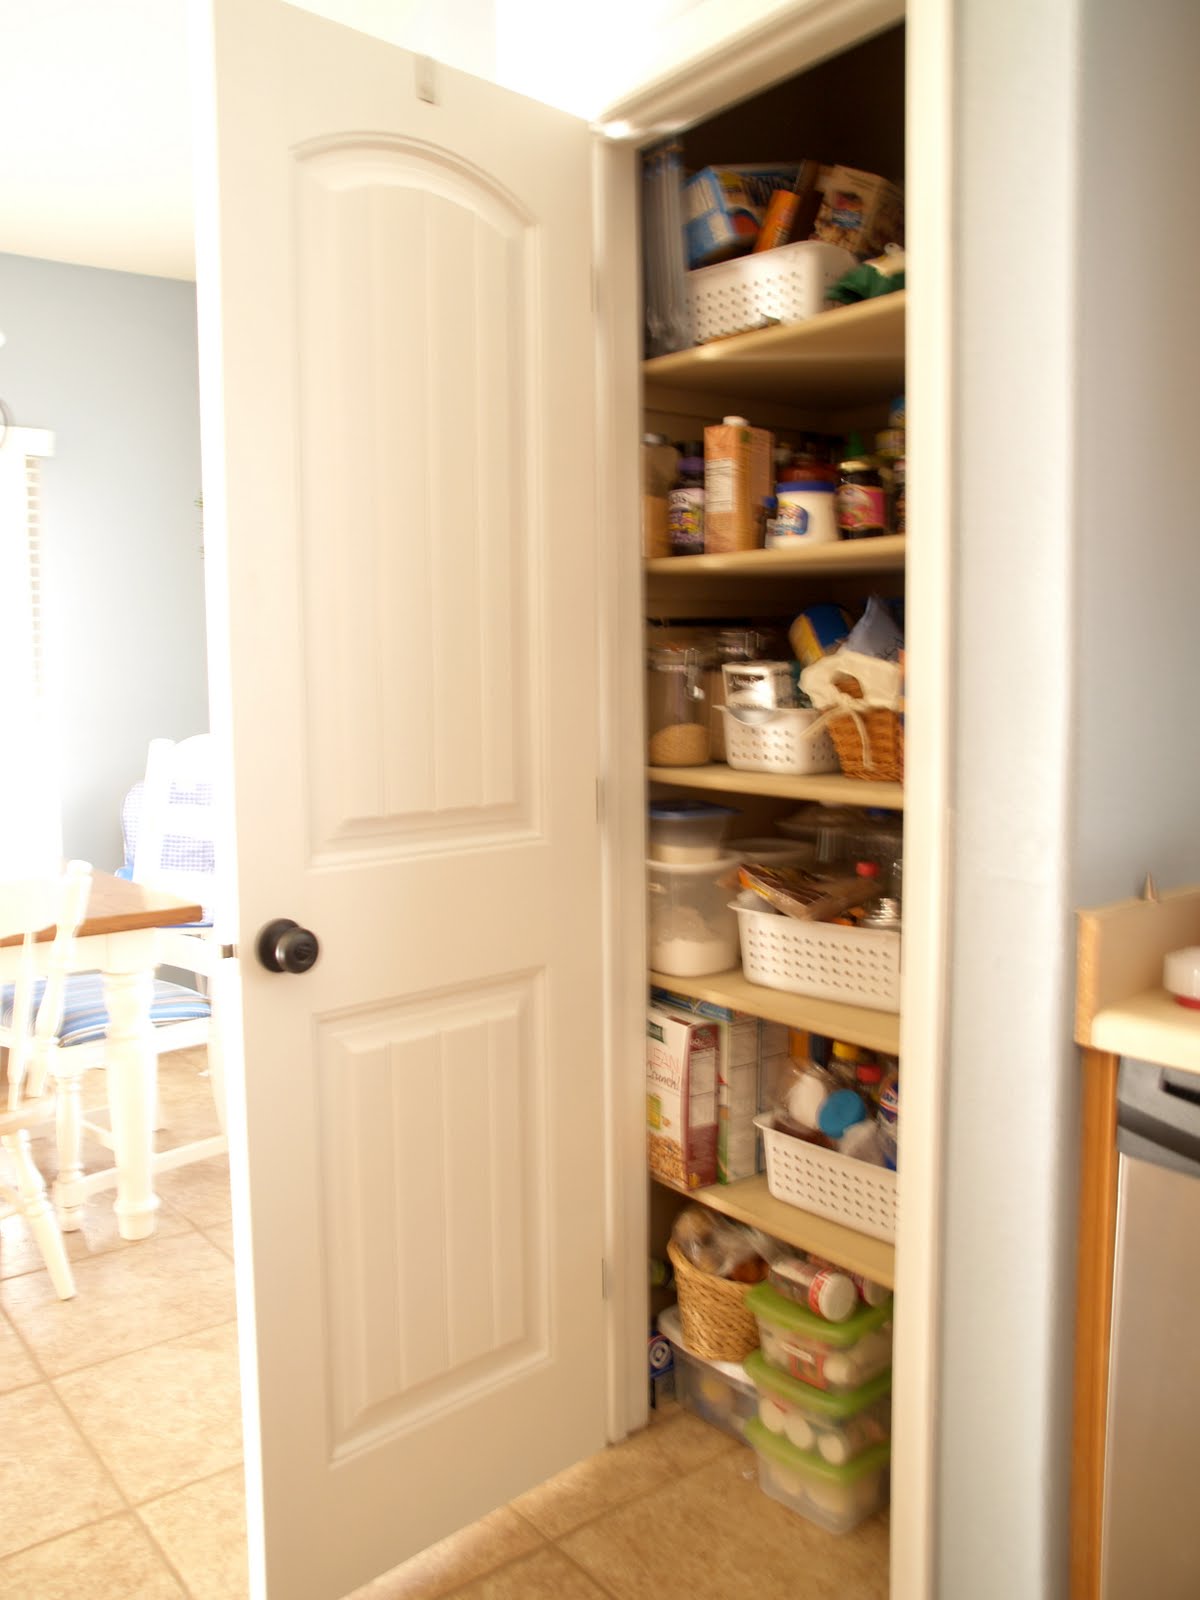 The door/pantry before.
You can tell it is packed and I am in need of a little more storage.
 Most of the pieces needed to create the shelf.
 Step 1: sand, sand, sand
All the pieces needed to be sanded.
Some more than others ;-)
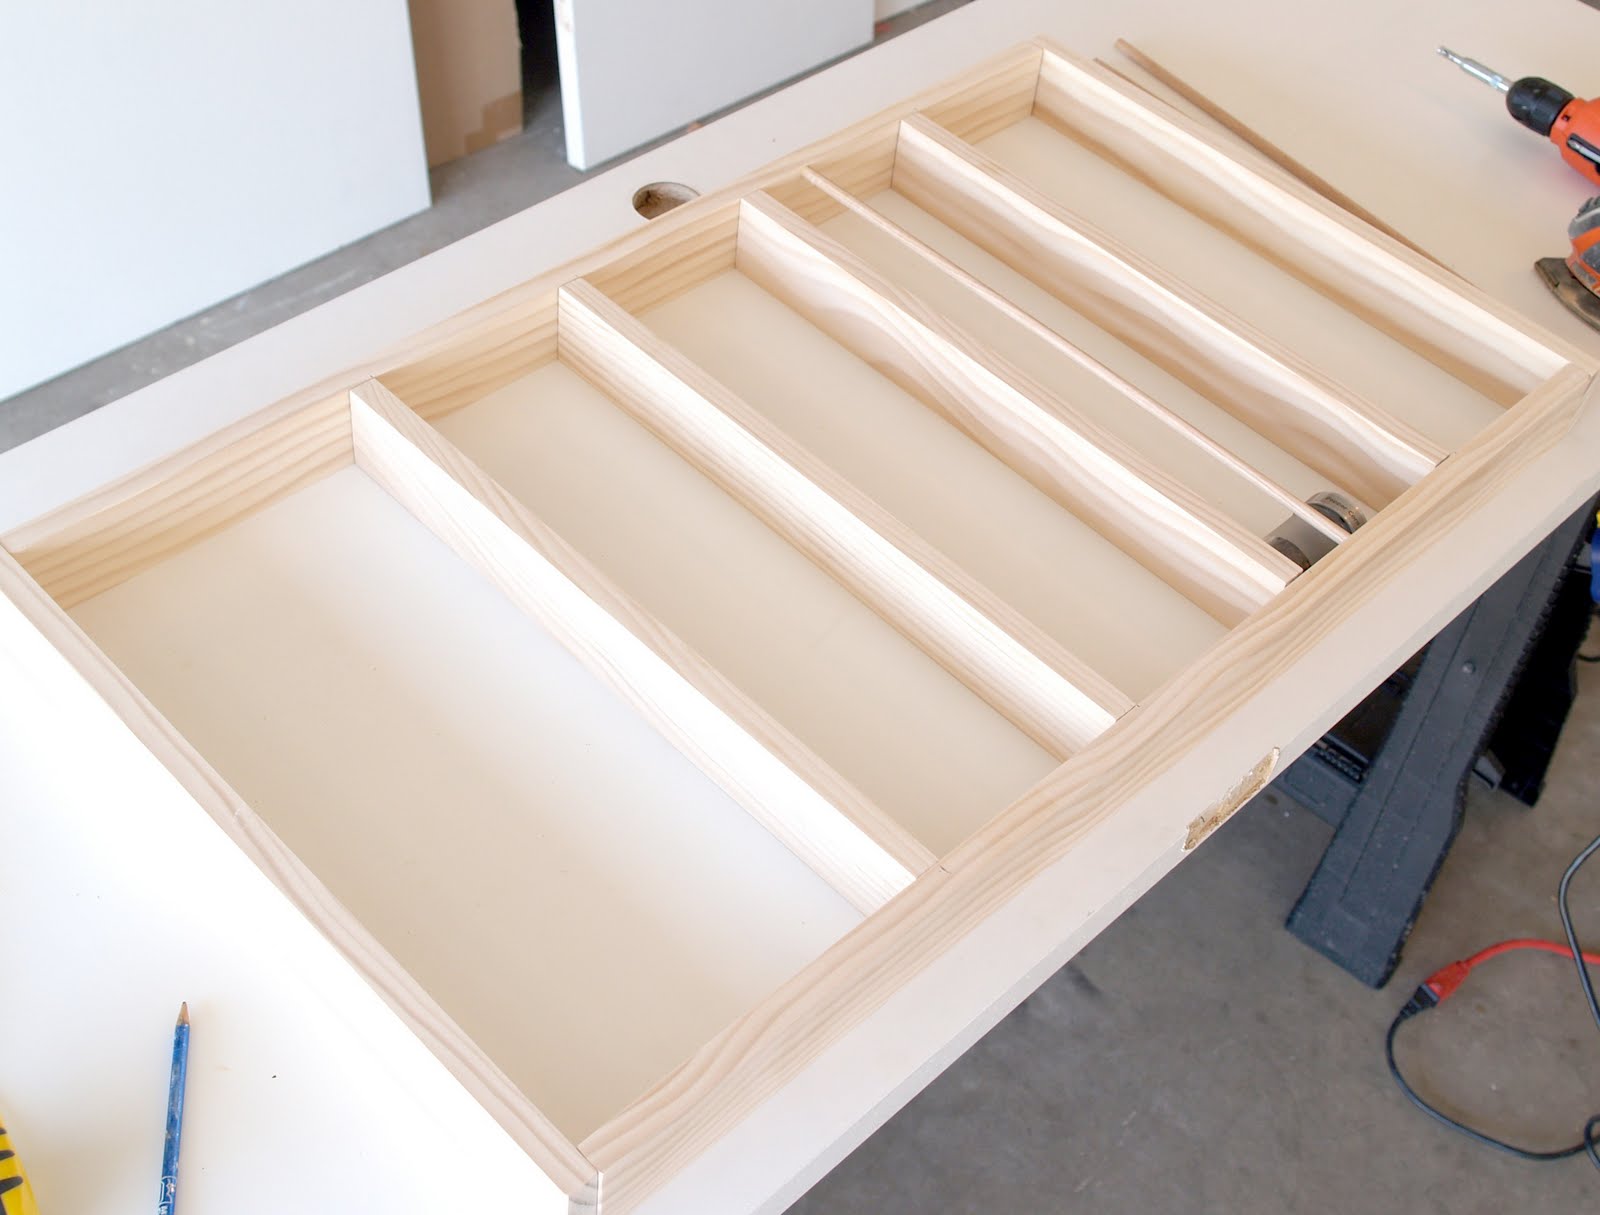 Step 2: place the pieces together and make sure everything fits. . .
 including the jars!
 Step 3: Square the frame before drilling.
 Step 4: Preset the hole for easier drilling.
 Step 5: Drill the screw holes.
{I later found out there is a tool to do these last 2 steps at once, LOL}
 Step 6: Countersink the screw holes so they are flush.
 Step 7: repeat about 23 times!
 Step 8: Apply wood glue to the joints and screw all the pieces together.
 Step 9: Screw the back on.
 Step 10: Place the dowels in place, drill a small hole and nail dowels in place.
 Step 11: The spice rack is completely assembled.
Next, I filled in the holes and another round of sanding.
It just needs a couple coats of paint and it is ready to install!
 Step 12: Install on the pantry door.
Once the paint was completely dry I screwed it directly to the back of the pantry door. I created it as wide as possible to still allow the door to close. This helped insure it would have something to anchor to when screwed into the hollow door.
 I love the way it turned out. I used clear labels to show what is in each jar.

Step 13: Create another one for the bottom of the door . . . another project to add to the list. =)
 I love the way it turned out. I used clear labels to show what is in each jar.
Step 13: Create another one for the bottom of the door . . . another project to add to the list. =)
{This was my first woodworking project.
Forgive me if I got some terminology wrong.}
Forgive me if I got some terminology wrong.}
3 comments:
Way to go ladies! It really looks great.
It looks great. Your valentine decor is cute too. It was fun seeing your family pictures and all your neices and nephews I haven't seen yet.
LOVE IT! SOOOOOO impressed Miss Heather! Now get to cookin' and use those spices!
Post a Comment